Add a Twitter Recipient
The Twitter recipient type is used to forward the health alerts from your Windows Home Server to a Twitter account as either status updates or direct (private) messages to another Twitter user. For a complete description of all recipient types, see this help topic.
Configuration Note: You may want to create a new, private Twitter account to use for your Home Server updates, and then Follow that account with your personal Twitter account.
- Open the Windows Home Server console, and navigate to the Remote Notification Settings tab. On the Receive tab, click the “Add” button.

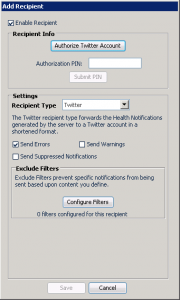
- Select “Twitter” as the Recipient Type.
- Click the “Authorize Twitter Account” button.

- Authenticate with Twitter in the web browser that launched from the previous step, and click Allow to give Remote Notification access to your Twitter account.

- After you click Allow, you will be given a PIN number that must be entered into the Remote Notification Add Recipient window.

- Enter the PIN and click the “Submit PIN” button.

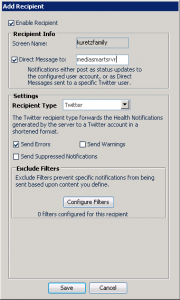
- Verify your Screen Name is correct, and decide if you want status updates posted to your account, or if you would prefer to send Notifications as a Direct Message to a specific Twitter user. Enter the Screen Name of the Twitter user if you choose the Direct Message option.

- Choose the severity of notifications that you want to receive to that Twitter account, and choose whether you want to receive suppressed notifications.
- Configure any exclude filters to prevent messages being sent when a notification contains specific text.
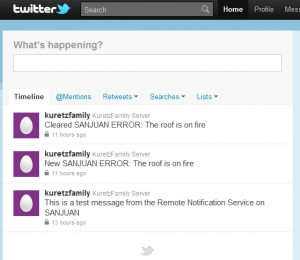
- Save your recipient, and send a test message to make sure the configuration is correct.

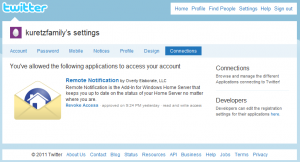
Important: If you no longer wish to allow Remote Notification access to your Twitter Account, delete the Twitter Recipient from the Remote Notification settings, and be sure to “Revoke Access” in your Twitter Profile under the Connections tab.


